


Tesla B-pillar camera alignment is crucial for safety and driver assistance features like parking aid, lane departure warnings, and adaptive cruise control. Proper alignment ensures accurate feeds integrating with Autopilot and Full Self-Driving (FSD) systems, vital for collision repair. Specialized tools are essential for precise calibration, streamlining vehicle maintenance and repair processes, empowering technicians to address diverse issues from minor cosmetic to significant structural repairs.
Uncover the secrets behind Tesla’s advanced safety features with our in-depth guide to B-pillar camera alignment. This article equips you with the knowledge and tools to navigate Tesla Service Mode, activate critical cameras, and ensure optimal sensor alignment. From understanding the fundamental functionality of Tesla’s B-pillar cameras to step-by-step alignment procedures, we provide a comprehensive roadmap for achieving precise and efficient results. Master these techniques and elevate your Tesla maintenance skills.
- Understanding Tesla B-Pillar Camera Functionality
- Tools for Efficient Service Mode Activation
- Aligning Cameras: A Step-by-Step Guide
Understanding Tesla B-Pillar Camera Functionality

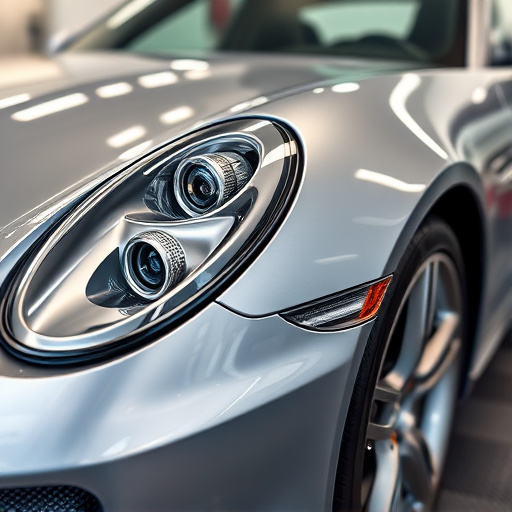
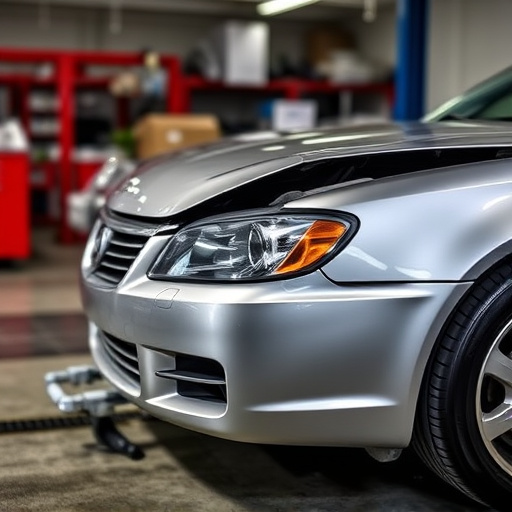
Tesla’s B-pillar cameras are a sophisticated part of their advanced driver-assistance systems (ADAS). These tiny yet powerful cameras are strategically placed behind the vehicle’s doors, primarily for safety and assistance purposes. They play a crucial role in various functions, including parking assistance, lane departure warnings, and adaptive cruise control. When aligned correctly, these cameras provide a comprehensive 360-degree view around the vehicle, enhancing driver awareness and facilitating precise Tesla service and collision repair processes.
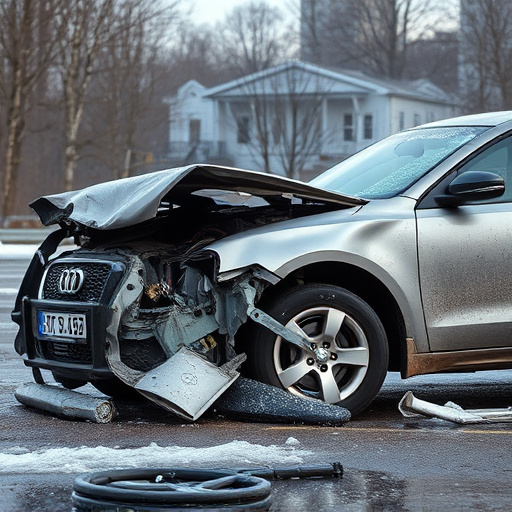
Proper alignment ensures that the camera feeds are accurate and synchronized, allowing for seamless integration with Tesla’s Autopilot and Full Self-Driving (FSD) capabilities. This is especially important when compared to traditional car body shop repairs where mercedes benz collision repair techniques might not account for these advanced systems. With the right tools, such as specialized service mode software, technicians can access and calibrate these cameras, ensuring optimal performance and safety features, even after a car collision repair.
Tools for Efficient Service Mode Activation
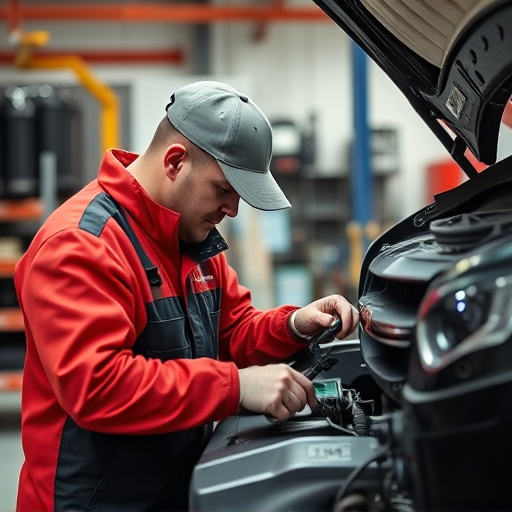
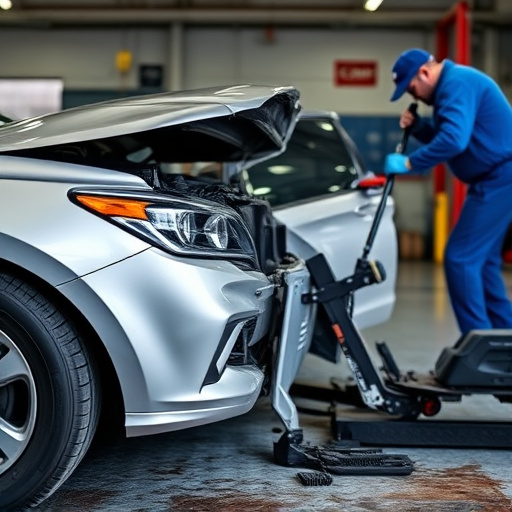
In the realm of Tesla vehicle maintenance, efficient service mode activation is key to ensuring optimal performance and safety. Specialized tools designed for Tesla B-pillar camera alignment play a pivotal role in this process. These tools not only simplify the act of activating service mode but also enhance precision, especially when it comes to intricate tasks like calibrating cameras situated along the car’s sides. By facilitating precise B-pillar camera alignment, these tools streamline various auto body services and car body restoration procedures, making them indispensable for professional autobody repairs.
The integration of cutting-edge technology into these tools ensures that mechanics can efficiently navigate Tesla’s service mode interface. This not only saves time but also minimizes the potential for errors during complex procedures. As a result, technicians are equipped to handle a wide range of issues, from minor cosmetic fixes to major structural repairs, all while leveraging the advanced capabilities of these innovative Tesla service mode tools.
Aligning Cameras: A Step-by-Step Guide
Aligning the Tesla B-pillar cameras is a crucial step for ensuring optimal driver assistance and safety features. Here’s a step-by-step guide to help you through the process:
1. Preparation: Start by engaging Tesla Service Mode using the dedicated software tool. This mode allows access to diagnostic tools and camera calibration functions. Ensure your vehicle’s battery is at least 30% charged to avoid any disruptions during the alignment process.
2. Camera Access: Locate the B-pillar cameras, typically positioned on both sides of the vehicle near the rear doors. Use the service mode tool to select the specific camera you wish to align. The tool will guide you through a series of on-screen instructions to access and adjust each camera’s settings.
3. Alignment Process: Follow these steps for each camera:
– Select ‘Camera Calibration’ in the service mode menu.
– Choose the appropriate camera and begin the alignment routine.
– The tool may ask you to perform certain actions, such as driving at a set speed or positioning the vehicle in specific angles, to collect data for calibration.
– Adjust the camera’s position using the tools provided until the display shows the intended view clearly, with no obstructions or distortion.
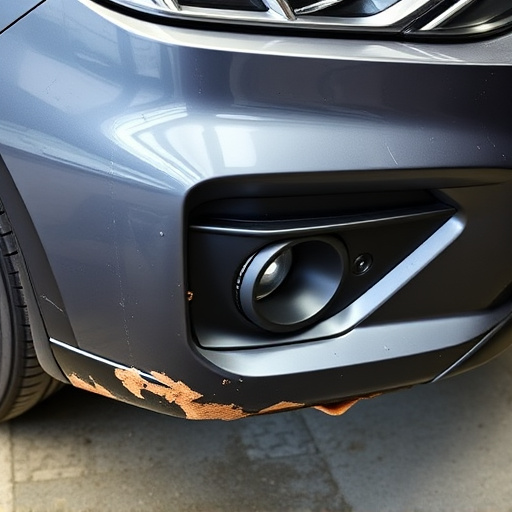
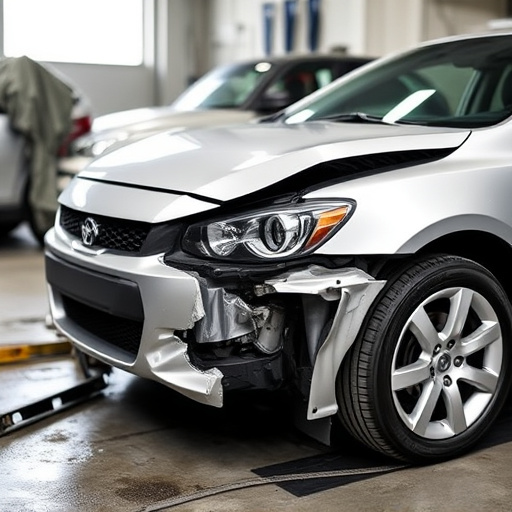
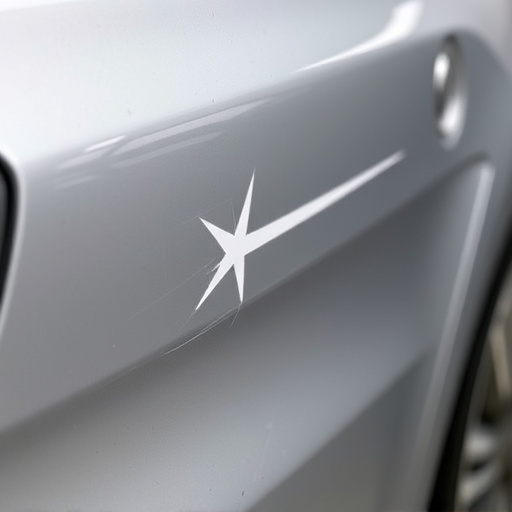
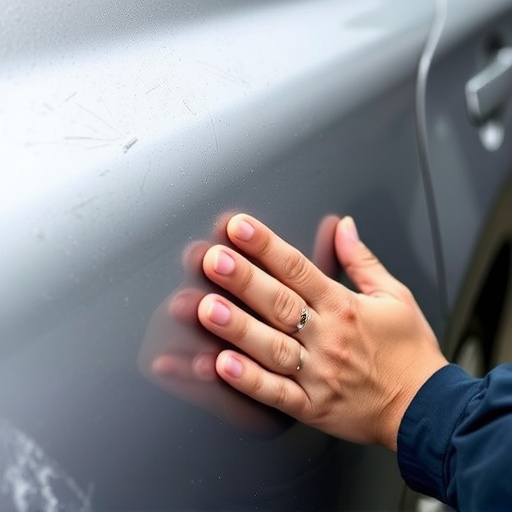
4. Verification: Once alignment is complete, test each camera by engaging different driving scenarios and ensuring they capture clear images and provide accurate assistance without any noticeable issues. Regularly inspect your vehicle’s bodywork for any signs of damage, including scratches, to maintain optimal performance of these advanced systems. Remember, a scratch repair in an auto body shop can be more cost-effective than leaving camera alignment issues unaddressed.
Tesla’s B-pillar cameras play a crucial role in enhancing safety and autonomous driving capabilities. By mastering the art of camera alignment, service technicians can ensure optimal performance and contribute to the overall reliability of Tesla vehicles. The tools mentioned in this article provide an efficient way to navigate through the process, making it accessible for professionals to quickly diagnose and address any issues related to these vital sensors. With precise alignment, Tesla’s advanced driver-assistance systems will continue to deliver a seamless and secure driving experience.